
Xây dựng trang quản trị laravel 9 với Laravel-admin bằng demo 1 trang blog cá nhân phần 2 CURD
Ở phần 1, chúng ta đã cài đặt package .Hôm nay chúng ta sẽ đến cách tạo CURD
Demo blog chúng ta cần tạo 2 bảng 1 là Danh mục 2 là danh sách bài viết .Sau đây chúng ta sẽ từng bước 1 tạo
1 Tạo danh mục bài viết với blog
Đầu tiên chúng ta dùng command sau để tạo bộ code cơ bản
php artisan make:model Category --all
Ở đây laravel sẽ tạo cho chúng ta migrate ,model ,controller ,policy ,request ....
Trong file database/migrations/2022_11_10_101802_create_categories_table.php chúng ta sẽ code như sau
 public function up()
    {
        Schema::create('categories', function (Blueprint $table) {
            $table->id();
            $table->string('title');
            $table->string('slug');
            $table->integer('parent_id');
            $table->string('description')->nullable();
            $table->timestamps();
            $table->softDeletes();
        });
    }
Bảng dữ liệu dành cho category sẽ có những collum sau : title,slug,parent_id,description và thêm softdeletes để xóa mềm
Tiếp theo chúng ta sẽ tạo fix model app/Models/Post.php như sau :
namespace App\Models;

use Illuminate\Database\Eloquent\Factories\HasFactory;
use Illuminate\Database\Eloquent\Model;
use Illuminate\Database\Eloquent\SoftDeletes;

class Category extends Model
{
    use HasFactory;
    use SoftDeletes;
    protected $fillable=['title','slug','parent_id','description'];
}
Tiếp theo chúng ta sẽ tạo trang quản trị trong admin
php artisan admin:make CategoryController --model=App\Models\Category
Laravel admin sẽ tự động tạo dữ liệu cho chúng ta auto
Bạn chỉ cần thêm vào file app/Admin/routes.php như sau :
$router->resource('categories', CategoryController::class);
2 Tạo danh mục bài viết với blog :
Tương tự như tạo danh mục ở đây chúng ta sẽ tạo danh mục bài viết với command sau :
php artisan make:model Post --all
Ở đây laravel sẽ tạo cho chúng ta migrate ,model ,controller ,policy ,request ....
Trong file database/migrations/2022_11_10_071256_create_posts_table.php chúng ta sẽ code như sau
public function up()
    {
        Schema::create('posts', function (Blueprint $table) {
            $table->id();
            $table->string('title',500);
            $table->string('slug',500);
            $table->string('description',1000)->nullable();
            $table->longText('content')->nullable();
            $table->integer('category_id');
            $table->string('thumbnail')->nullable();;
            $table->string('video')->nullable();
            $table->tinyInteger('type')->comment('type của bài viết 1 là bài viết ,2 là video ,3 là ảnh ')->default(1);
            $table->tinyInteger('status')->comment('trạng thái của bài viết 0 là không hiển thị 1 là hiển thị')->default(1);
            $table->timestamps();
            $table->softDeletes();
        });
    }
Bảng dữ liệu dành cho bài viết sẽ có những collum sau : title,slug,parent_id,description,content,category_id,thumbnail,video,type,status và thêm softdeletes để xóa mềm
Tiếp theo chúng ta sẽ tạo fix model app/Models/Post.php như sau :
namespace App\Models;

use Illuminate\Database\Eloquent\Factories\HasFactory;
use Illuminate\Database\Eloquent\Model;
use Illuminate\Database\Eloquent\SoftDeletes;

class Post extends Model
{
    use HasFactory;
    use SoftDeletes;
    protected $fillable=['title','slug','description','content','category_id','thumbnail','video','type','status'];
}
Okela tiếp theo chúng ta sẽ tạo phần admin cho mục bài viết
php artisan admin:make PostController --model=App\Models\Post
Để có thể truy cập với url chúng ta cần thêm config router
$router->resource('posts', PostController::class);
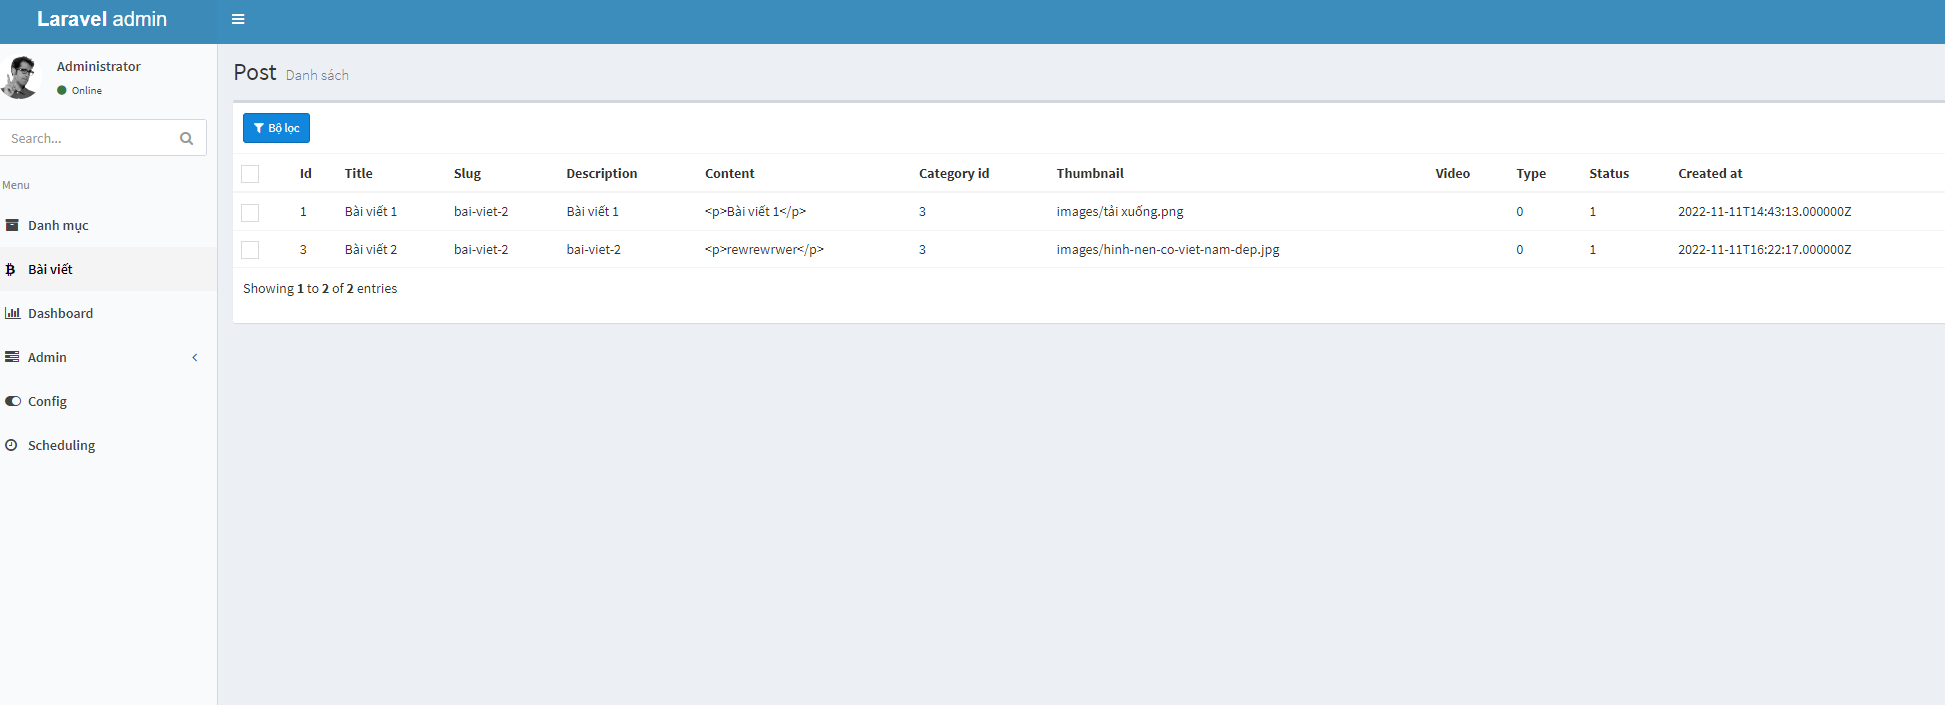
Vậy là đã xong chúng ta có thể truy cập link : http://127.0.0.1:8000/admin/posts và link http://127.0.0.1:8000/admin/categories để xem thành quả mình đã đạt được
